How to Proper Install Mini Reflex Sight?
Mini reflex sights have revolutionized the world of firearms, offering unparalleled speed and accuracy in target acquisition. Their compact size and user-friendly design make them ideal for a wide range of applications, from handguns to rifles and shotguns. The ability to maintain situational awareness while quickly engaging targets has made mini reflex sights a favorite among law enforcement, military personnel, competitive shooters, and recreational enthusiasts alike. However, the performance of a mini reflex sight is heavily dependent on its proper installation. An improperly mounted sight can lead to inaccurate shots, malfunctions, and even damage to the firearm or the sight itself. This comprehensive guide aims to demystify the installation process, providing you with the knowledge and skills necessary to mount your mini reflex sight with confidence and precision.
Part 1: Understanding Mini Reflex Sights
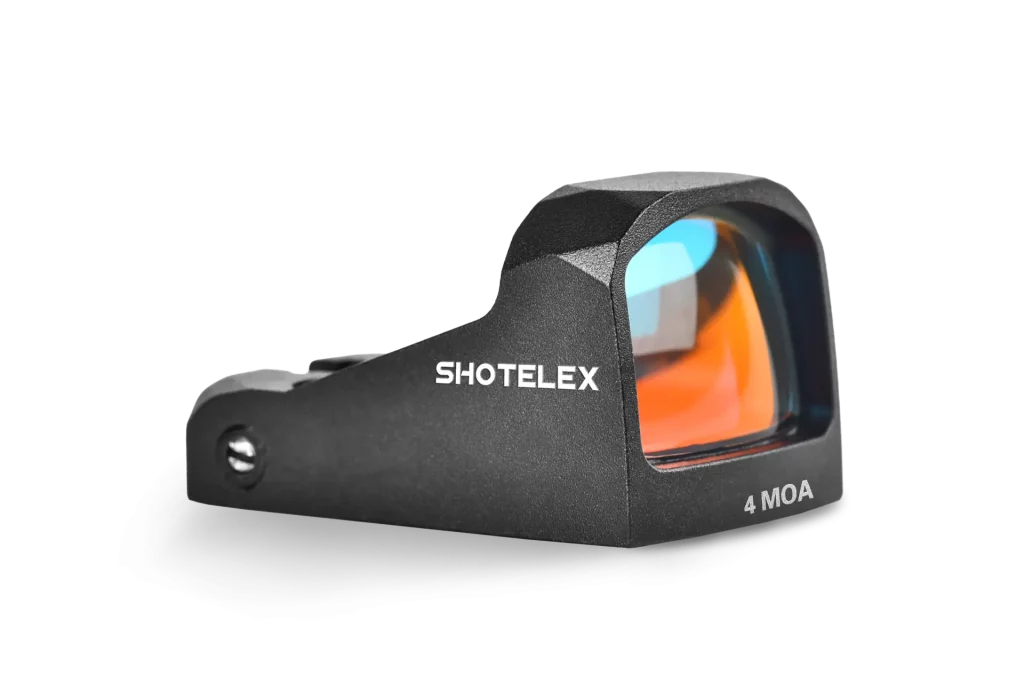
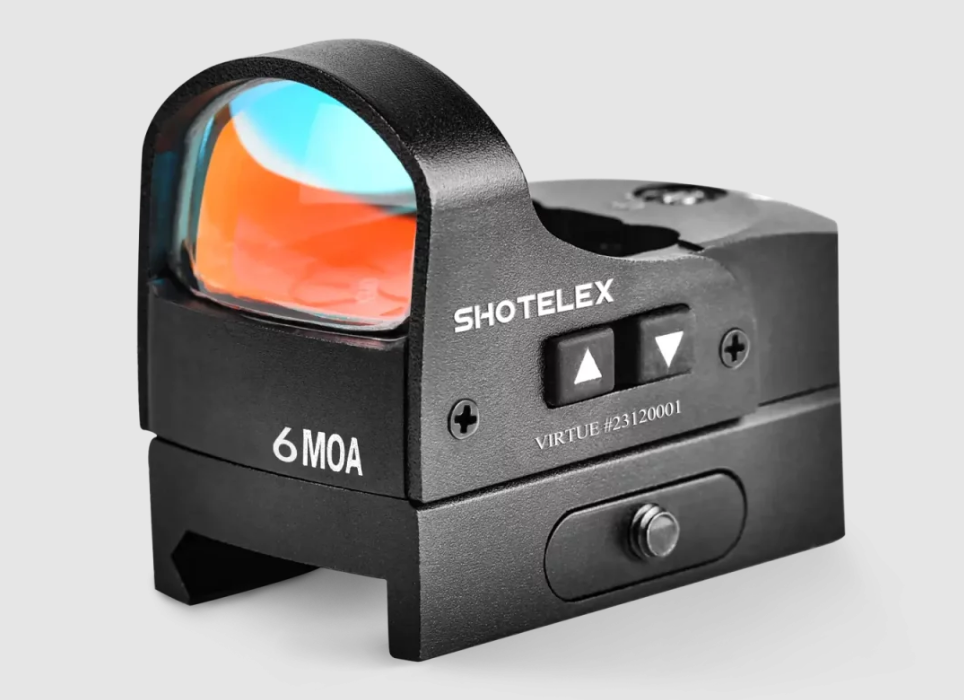
Before diving into the installation process, it’s essential to understand the basics of mini reflex sights. These sights utilize a reflected LED or laser beam to project a reticle onto a lens, allowing the shooter to aim with both eyes open. This design offers several advantages, including:
- Rapid Target Acquisition: The illuminated reticle allows for quick and intuitive aiming.
- Enhanced Situational Awareness: Open-eye shooting provides a wider field of view, improving awareness of the surroundings.
- Reduced Recoil Impact: The lightweight design minimizes the impact of recoil on the shooter’s aim.
- Versatility: Mini reflex sights can be mounted on various firearms, enhancing their versatility.
Part 2: Preparing for Installation
Proper preparation is crucial for a successful installation. Before you begin, gather the necessary tools and ensure a safe working environment.
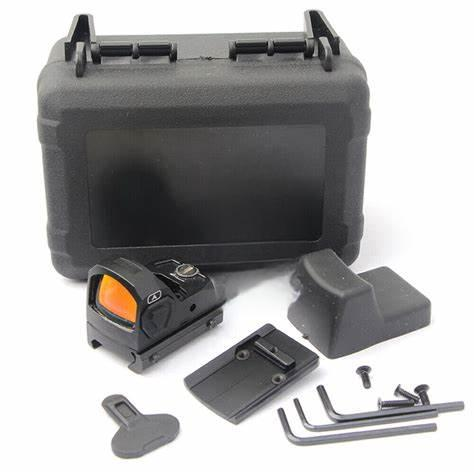
1. Required Tools and Materials
Before starting the installation, gather the following tools to ensure a smooth and efficient process:
- Mini reflex sight – Ensure that the sight is compatible with your firearm.
- Appropriate mounting base or adapter – Depending on your firearm’s mounting system, you may need a Picatinny rail, Weaver rail, or dovetail adapter.
- Screwdriver – Choose the correct type and size that fits the screws provided with your sight.
- Torque wrench (optional but recommended) – Helps apply the correct amount of torque to prevent overtightening or loosening.
- Cleaning cloth – To remove dust, debris, or oil from the mounting area.
- Thread locker (optional but recommended) – Helps secure screws in place and prevents loosening due to recoil.
2. Safety Precautions
Before proceeding, follow these safety measures to avoid accidents:
- Ensure the firearm is unloaded – Remove the magazine, clear the chamber, and double-check the firearm’s safety status.
- Work in a safe environment – Perform the installation on a stable, non-slip surface with adequate lighting.
- Handle tools carefully – Avoid overtightening screws, which can damage threads or the sight itself.
Part 3: Step-by-Step Installation Guide
Step 1: Selecting the Correct Mounting Base or Adapter
Different firearms have varying mounting systems, and it is essential to choose the correct base or adapter:
- Picatinny and Weaver rails – These are common on modern firearms and allow direct mounting of the sight.
- Dovetail mounts – Some pistols require a dovetail adapter, which may need professional fitting.
- Dedicated mounting plates – Some firearms have proprietary mounting systems that require manufacturer-specific plates.
Ensure that the selected mounting base is compatible with both your firearm and the mini reflex sight.
Step 2: Installing the Mounting Base or Adapter
Once you have the appropriate mounting base, follow these steps to secure it properly:
- Clean the mounting area – Use a dry cloth to remove dirt, oil, or debris.
- Align the mounting base – Position the base correctly on the firearm’s mounting rail or designated area.
- Insert and tighten screws – Secure the base using the provided screws, tightening them evenly to prevent misalignment.
- Use a torque wrench (if available) – Apply the recommended torque setting (usually between 15-25 in-lbs) to ensure optimal tightness.
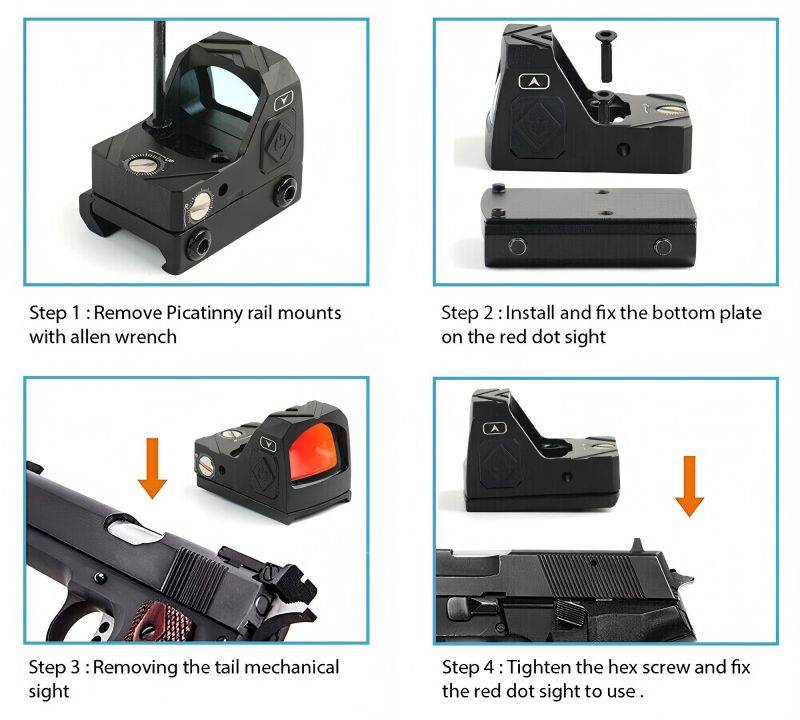
Step 3: Attaching the Mini Reflex Sight
After securing the mounting base, proceed with installing the mini reflex sight:
- Position the sight correctly – Place the sight on the mounting base, ensuring it aligns with the mounting holes.
- Insert and tighten screws – Use a screwdriver to tighten the screws in a crisscross pattern for even pressure distribution.
- Apply thread locker (if needed) – If recommended, apply a small amount of thread locker to the screws before tightening to prevent loosening due to recoil.
- Avoid over-tightening – Tighten screws firmly but avoid excessive force to prevent damaging the sight or threads.
Step 4: Checking the Installation
After installation, conduct a thorough check to ensure everything is secure and properly aligned:
- Verify that the sight is firmly attached – Gently shake the firearm to ensure there is no movement or looseness.
- Check alignment with the firearm’s centerline – Look through the sight to confirm proper positioning and alignment.
- Perform a function test – If possible, dry-fire the firearm to ensure the sight holds zero and remains stable.
Part 4: Crucial Considerations and Best Practices of Mini Reflex Sight Installation
- Understanding Torque Values: Torque values are critical for proper installation. Over-tightening can strip screw threads or damage the optic, while under-tightening can lead to loosening and zeroing issues. Always consult the manufacturer’s specifications.
- Thread Locker Application: Thread locker helps prevent screws from loosening due to recoil. Apply a small amount to the screw threads, avoiding excessive application that could seep into the optic.
- Zeroing the Reflex Sight: After installation, zeroing the reflex sight is essential. This involves adjusting the windage and elevation settings to align the point of impact with the point of aim.
- Regular Maintenance: Periodically check the installation and screws to ensure they remain secure. Clean the optic lens with a soft, lint-free cloth.
- Professional Installation: If you’re unsure about any aspect of the installation process, seek assistance from a qualified gunsmith.
Final Thoughts
Properly installing a mini reflex sight is a straightforward process that can significantly enhance your shooting experience. By following these steps and adhering to safety precautions, you can achieve a secure and reliable installation, leading to improved accuracy and faster target acquisition. Remember that each firearm and optic combination may present unique challenges, so always refer to the manufacturer’s instructions for specific guidance. With patience and attention to detail, you can confidently install your mini reflex sight and enjoy its benefits.