How to Turn on Red Dot Sight? – Comprehensive Guide
The red dot sight, a not-so-secret “cheat code” in the modern shooting world! Whether you’re a precision shooter at the range or a tactical player dominating in-game battlefields, this little device is practically essential. It dramatically boosts your aiming speed and shooting accuracy, making you faster and sharper with every shot.
But for beginners, the first real challenge usually isn’t aiming – it’s figuring out how to turn on red dot sight. Don’t laugh—90% of newbies have struggled with that tiny power button and a confusing manual.
No worries, though. Today, we will walk you through the simple process of turning on your red dot sight like a pro, helping you master the basics and get battle-ready in no time. Let’s go!
Part 1. What is a Red Dot Sight?
A red dot sight is a non-magnifying optical aiming device that has become a favorite tool among shooters of all kinds. Instead of magnifying the target, it uses a reflective lens to project a small illuminated dot, usually red or green, right in front of your eye.
That glowing dot is your aiming point, allowing for fast, intuitive target acquisition without the need to align traditional front and rear iron sights.
In other words, it eliminates the old “three-point alignment” struggle – just place the dot on your target and pull the trigger. It’s that quick, that easy.
Compared to traditional iron sights, red dot sights offer several clear advantages:
Faster Target Acquisition
By removing the need to line up a front and rear sight, red dot sights let you acquire targets in a split second—perfect for high-speed tactical scenarios or split-second reaction shooting.
Shoot with Both Eyes Open
Because red dot sights don’t magnify, you can keep both eyes open while aiming. This wide-open view enhances situational awareness and reduces blind spots, which is especially useful in dynamic shooting situations or while moving.
Pinpoint Accuracy
With a red dot sight, aiming becomes a simple “point-and-shoot” experience, where the dot goes and the bullet follows. It greatly increases hit probability, particularly at close to medium ranges, making it a reliable tool for both combat and competition.
Beginner-Friendly
For newcomers to shooting, red dot sights are incredibly easy to use. There’s no steep learning curve, no complicated sight alignment, just basic setup, and you’re good to go. It’s the perfect tool to build confidence and accuracy from day one.
Part 2. Main Types of Red Dot Sights & How to Turn Them On
Red dot sights may look similar at first glance, but their power source and activation methods can vary. Knowing how your specific red dot works can save you from the classic rookie mistake: furiously pressing buttons and wondering why the dot won’t light up.
Let’s break down the three main types of red dot sights and how to power them on properly:
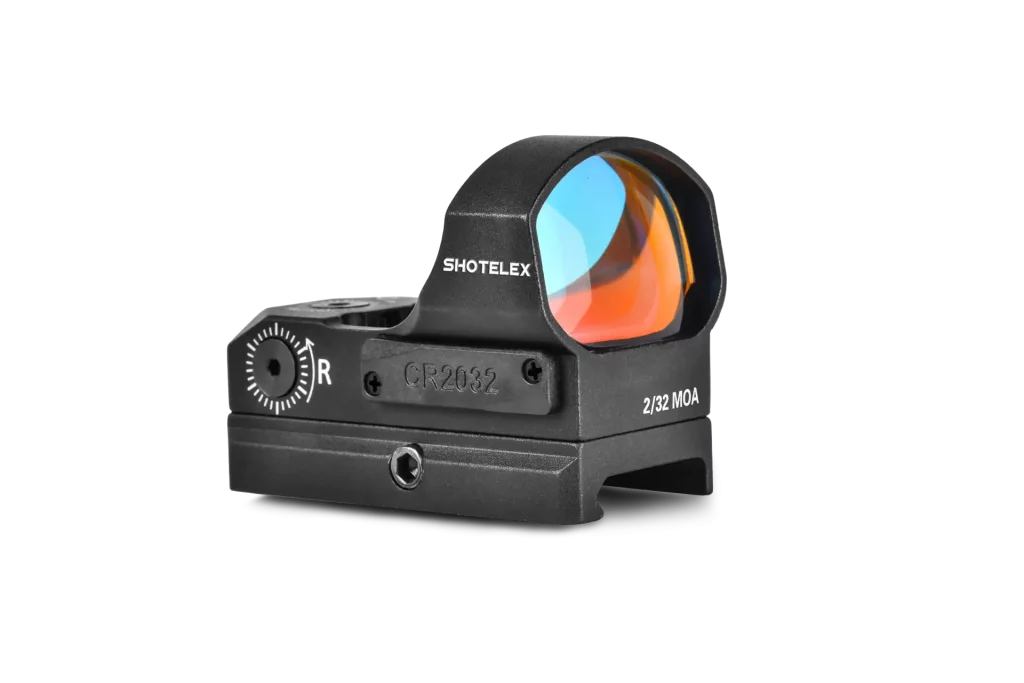
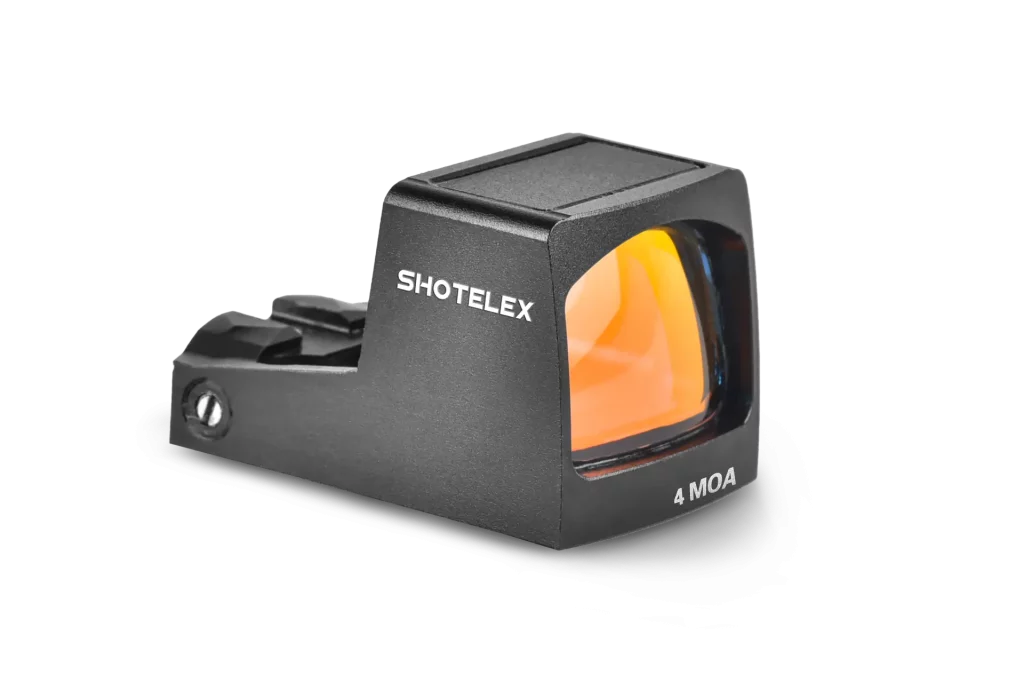
1. Battery-Powered Red Dot Sights
This is the most common type on the market, widely used for its reliability and manual control. These sights are typically powered by CR2032 or similar coin-cell batteries and come with buttons or rotary switches for brightness and power control.
How to turn it on:
Step 1. Check the Battery
Make sure a battery is installed correctly—watch the polarity! If the battery is dead or missing, the red dot simply won’t power up, no matter how many times you push the button.
Step 2. Press a Button or Turn the Dial
Press the “+” button or rotate the brightness dial from the “off” (0) position to any brightness level. Some models have up to 10 brightness settings for different lighting conditions.
Best for: Shooters who like hands-on control and dependable performance.

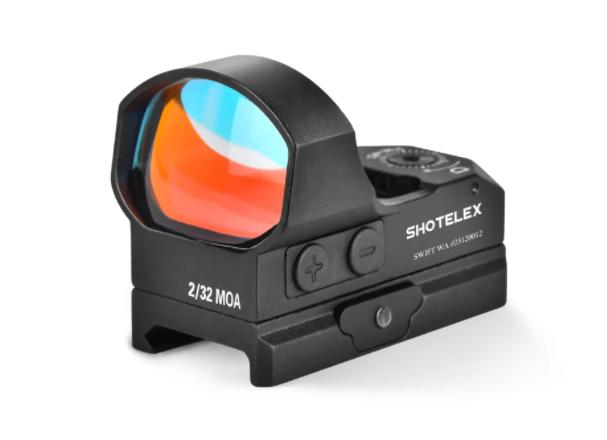
2. Solar-Powered Red Dot Sights
These red dot sights use solar panels (usually mounted on top of the optic) to draw power from ambient light. Many models include backup batteries to ensure consistent performance in low-light environments.
How to turn it on:
Step 1. Fully Automatic Activation
Most solar sights are equipped with light sensors and turn on automatically when there’s enough light. No button pressing needed.
Step 2. Brightness Control
Some models offer auto-brightness adjustment, while others let you manually tweak the brightness via buttons. Be sure to check your model’s manual—each brand does it slightly differently.
Best for: Outdoor shooters who want a minimalist, power-efficient setup.
3. Motion-Activated Red Dot Sights
This newer “smart” style of red dot sight includes built-in motion sensors. The dot turns on automatically when the optic is moved and powers down after a period of inactivity—great for battery life and rapid response.
How to turn it on:
Step 1. First-Time Use: Activate Sensor Mode
Install the battery and usually press a button once (or hold it briefly) to activate motion-sensing standby mode.
Step 2. Daily Use: Just Move It
After initial activation, simply pick up or nudge the firearm slightly, and the red dot will light up on its own. Leave it idle for a while, and it will turn off automatically.
Best for: Tactical users who need fast, hands-free operation.
Part 3. How to Turn a Red Dot Sight Correctly? – Detailed Steps
Properly turning on your red dot sight ensures accurate shooting and helps extend the lifespan of the device. Below is a detailed explanation of each step, helping you quickly and correctly get your red dot sight up and running.
Step 1: Install or Check the Battery
Most red dot sights are powered by batteries, so ensuring the battery is correctly installed is the first crucial step.
Open the Battery Compartment
The battery compartment is typically located on the side or bottom of the sight. Carefully open the compartment, making sure not to use excessive force to avoid damage.
Install the Correct Battery
Ensure you’re using the correct battery, commonly known as a CR2032 or CR1632 coin cell battery. Pay close attention to the positive and negative sides, as the compartment usually has markings to guide you. Insert the battery according to the correct polarity.
Close the Battery Compartment and Tighten
Once the battery is in place, close the compartment and make sure the lid is securely tightened. A loose or improperly sealed battery cover can lead to poor contact and may cause the sight to malfunction.
Step 2: Locate the Switch or Brightness Adjustment Control
While different models of red dot sights have various controls, most will feature one of the following methods to power on the sight and adjust the brightness:
Side Buttons (“+” and “-” buttons)
Many models have side buttons marked with “+” and “-” symbols for adjusting brightness. Press the “+” button to power on the red dot and adjust the brightness to your preference.
Rotary Brightness Adjustment Knob
Some models feature a rotary knob for brightness adjustment. Rotate the knob clockwise to increase brightness and counterclockwise to decrease it.
Automatic Sensing System (High-end Models)
Some high-end models come with an automatic sensing system. This system adjusts the brightness based on the surrounding light conditions, meaning you don’t have to manually adjust it. These sights often turn on automatically when light is detected.
Step 3: Turn On and Adjust Brightness
Once the battery is installed correctly, you can proceed to turn on the red dot and adjust the brightness.
Power On the Red Dot
Press the “+” button or rotate the brightness adjustment knob to turn on the red dot. You’ll see a bright red dot, usually in the center of the sight, which indicates your aiming point.
Adjust the Brightness
Based on the lighting conditions, you may need to adjust the brightness. In bright sunlight, increase the brightness to make the red dot clearer. In low-light conditions, decrease the brightness to avoid a glare that could obscure your view.
Tip: If the red dot is too bright or too dim, it can affect your accuracy. The ideal brightness is one that makes the red dot clearly visible without being too overpowering or causing eye strain.
Part 4. What to Do If the Red Dot Sight Doesn’t Turn On?
If you’ve followed the steps but the red dot still isn’t turning on, the issue may be due to one of the following reasons:
Battery is dead or not installed correctly
Check if the battery is properly installed and if it has a charge. Replace the battery if needed.
Poor battery contact (Check for corrosion)
Sometimes, the battery contacts can become corroded or dirty, leading to a poor connection. Inspect the contacts and clean them gently if necessary.
Switch damage or malfunctioning contacts
The power switch may be damaged, or the contacts might not be making a proper connection. If the switch feels loose or doesn’t click, it might need repair or replacement.
Damaged red dot light source module
In rare cases, the internal light source module could be malfunctioning. If this happens, it’s best to contact the manufacturer for repairs or a replacement.
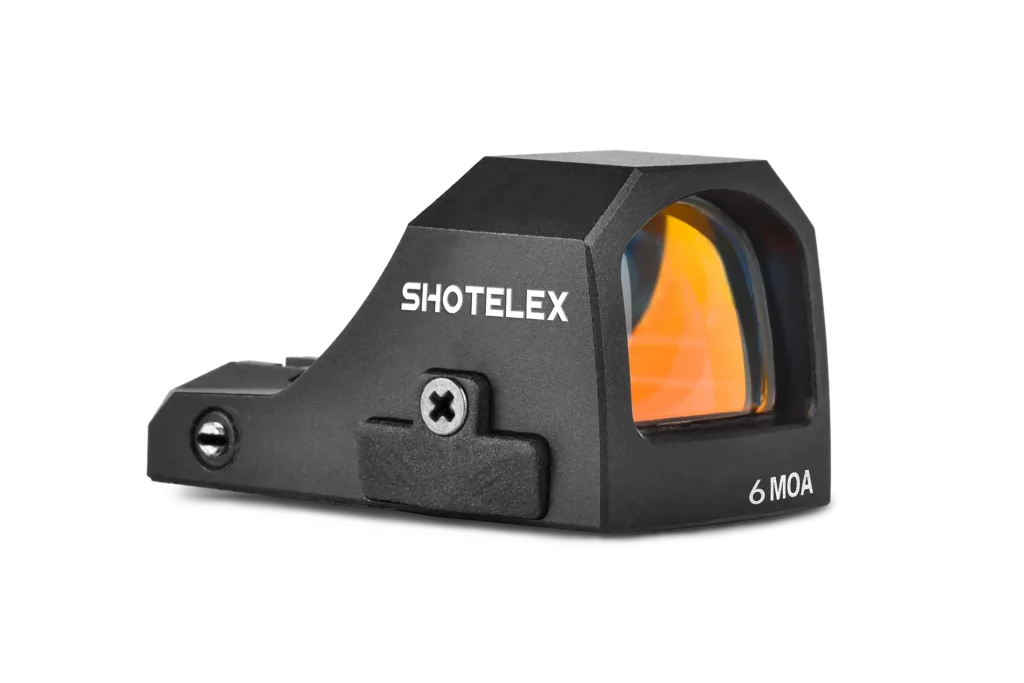
Part 5. Shotelex: Professional Red Dot Sight Supplier
Shotelex is a reliable and professional manufacturer specializing in the research, development, and production of red dot sights. Its mission is to provide high-quality, stable, and reliable optical products for shooting sports, tactical equipment, and outdoor markets. They offer several key advantages:
- Wide Range of Red Dot Sights: Shotelex offers various types of red dot sights to suit different needs, ensuring there’s an option for everyone.
- In-house R&D + Direct Factory Supply: As a manufacturer with our own research and development team, we are capable of providing factory-direct products and supporting customization options to meet your specific requirements.
- 100% Pre-shipment Testing: Every product undergoes strict quality control and 100% testing before leaving the factory, ensuring top-notch performance and reliability.
In the End
Turning on a red dot sight is not difficult; the key is understanding the type and structure of the sight you are using. By mastering proper usage, you can significantly enhance your shooting experience and extend the lifespan of the sight. If you haven’t yet selected the right red dot sight, feel free to browse and contact Shotelex to find the perfect one for you!