Want to Optimal Target Acquisition? The Meaning of Red Dot MOA Size You Need to Know
The proliferation of red dot sights across various shooting disciplines, from competitive shooting to tactical applications and even hunting, speaks volumes about their speed and versatility. These optics offer a clear aiming point without the need for complex reticles or precise eye alignment. However, to truly harness the potential of a red dot sight, a fundamental understanding of red dot MOA is paramount. Minute of Angle (MOA) is the language by which we describe both the size of the aiming dot and the adjustments within the optic. Comprehending how different MOA sizes impact target acquisition at varying distances and across different firearm platforms is the key to making informed equipment choices and achieving optimal shooting performance.
What Do Different MOA Sizes Mean for Target Acquisition at Various Distances?
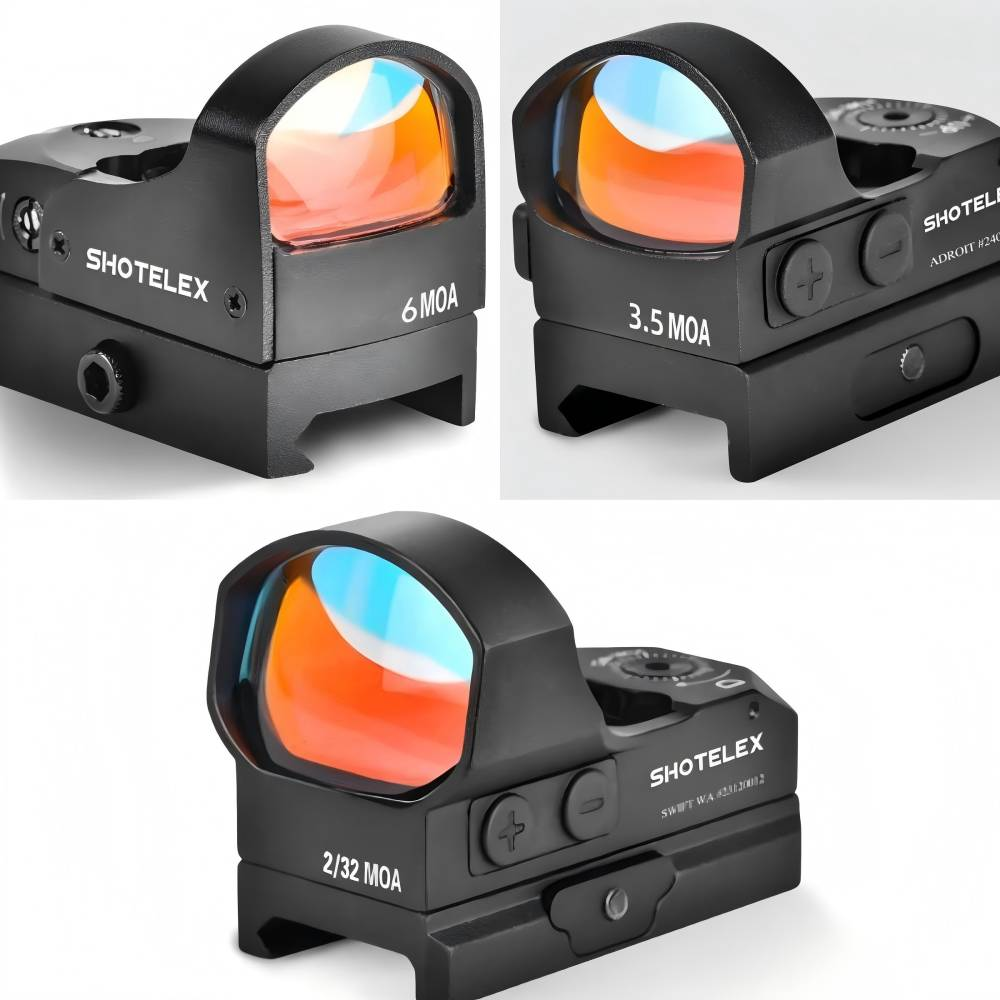
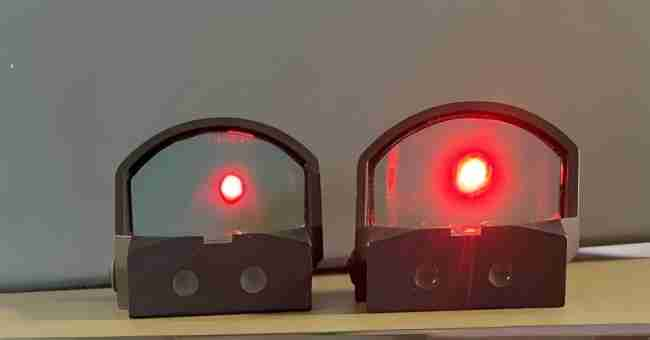
At its core, MOA is an angular measurement, representing approximately 1/60th of one degree. In the context of a red dot sight, the MOA size refers to the diameter of the illuminated dot projected onto your target. A smaller MOA dot will appear as a finer point, covering less of the target area, while a larger MOA dot will be more prominent, obscuring a greater portion. This seemingly simple difference has significant implications for target acquisition speed and precision, particularly at varying distances.
1. Impact of Red Dot MOA Size at Close Range Engagements
In dynamic, close-quarters scenarios where rapid target acquisition is paramount, larger MOA sizes (e.g., 4 MOA, 6 MOA, or even 8 MOA) often excel. The larger dot is easier to see and quickly center on the target, especially when moving or engaging multiple threats. This increased visibility allows the shooter to get on target faster, even if it comes at the cost of some pinpoint precision. However, at very close ranges, even a larger dot won’t obscure a significant portion of a standard-sized target.
2. Impact of Red Dot MOA Size at Mid-Range Applications
As engagement distances increase, the trade-off between speed and precision becomes more apparent. Mid-sized MOA sizes (e.g., 2 MOA, 3 MOA) often strike a balance, offering a reasonably quick aiming point while still allowing for a degree of accuracy on moderately sized targets. It’s crucial to remember that the perceived size of the dot grows with distance. A 2 MOA dot that appears relatively small at 50 yards will cover a larger area at 200 yards, potentially obscuring finer details or smaller targets.
3. Impact of Red Dot MOA Size at Long Range Shooting (Relatively Speaking)
While red dot sights are generally not the primary choice for extreme long-range precision shooting compared to magnified optics, smaller MOA sizes (1 MOA, 2 MOA) are preferred when attempting longer shots with a red dot. The finer aiming point allows for more precise aiming on smaller targets and minimizes the amount of target area obscured by the dot. However, acquiring a small dot quickly at longer distances can be more challenging, especially in suboptimal lighting conditions.
Ultimately, the ideal MOA size for target acquisition is context-dependent, influenced by the typical engagement distances, target size, and the shooter’s priority between speed and precision.
How Does MOA Translate to Inches at Different Distances?
Understanding the relationship between MOA and inches on the target is crucial for both selecting a red dot and effectively using its adjustment features for zeroing. The fundamental principle is that 1 MOA roughly subtends 1 inch at 100 yards. This provides a tangible reference point for visualizing the size of your red dot and the impact of adjustments.
However, shooting rarely occurs exclusively at 100 yards. To accurately understand the coverage of your MOA size and the effect of adjustments at other distances, we need to employ a simple calculation:
Size in Inches = (MOA×Distance in Yards)/100
Let’s illustrate this with some examples:
2 MOA dot at 50 yards: 2×50/100 =1 inch. A 2 MOA dot will cover approximately 1 inch at 50 yards.
1 MOA adjustment at 200 yards: 1×200/100 =2 inches. A single 1 MOA click on your sight will move the point of impact approximately 2 inches at 200 yards.
4 MOA dot at 25 yards: 4×25/100 =1 inch. A 4 MOA dot will cover approximately 1 inch at 25 yards.
This formula highlights that as the distance to the target increases, the physical size covered by a specific MOA size also increases proportionally. This reinforces the earlier point about smaller MOA dots being advantageous for longer-range precision, as they obscure less of the target.
Furthermore, understanding this translation is essential for the zeroing process. Most red dot sights feature adjustments measured in MOA per click (e.g., 1 MOA per click, 1/2 MOA per click). Knowing how many inches each click moves your point of impact at your chosen zeroing distance allows for precise corrections to achieve accurate shots.
The Best MOA Size for Different Firearm Platforms
The “best” MOA size for a red dot sight is not universal; it is heavily influenced by the type of firearm and its intended application.
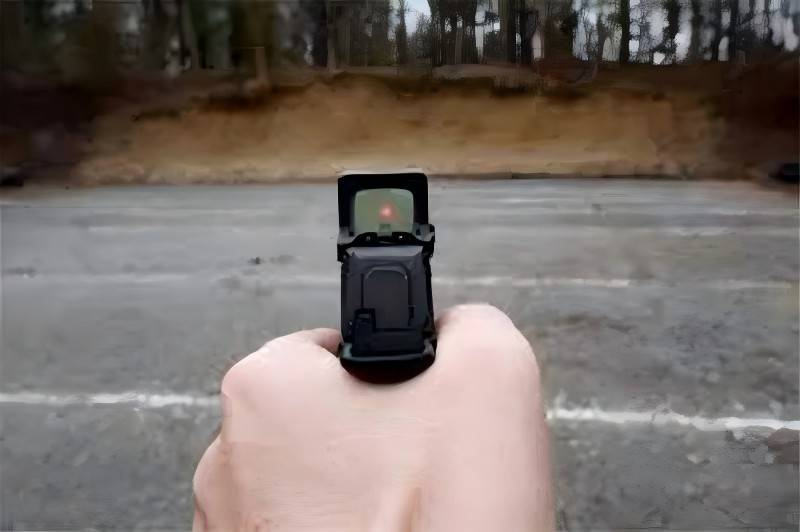
Pistols: For pistols, particularly those intended for self-defense or close-quarters competition, larger MOA sizes are generally preferred. Dots in the 3 MOA to 6 MOA range (and sometimes even larger) facilitate rapid target acquisition, which is critical in dynamic situations. The larger dot is easier to track during recoil and quickly reacquire on subsequent shots. While ultimate precision might be less of a primary concern in close-quarters pistol engagements, a 3-4 MOA dot still allows for accurate shots at typical defensive distances.
Rifles: The ideal MOA size for a rifle-mounted red dot is more variable, depending on the rifle’s purpose. For tactical or home defense carbines where engagements are likely to be at closer to medium ranges, a 2 MOA or 3 MOA dot often provides a good balance of speed and precision. These sizes allow for relatively quick target acquisition while still permitting accurate shots on man-sized targets out to several hundred yards. For rifles intended for longer-range sport shooting or hunting (within the effective range of a non-magnified red dot), a smaller 1 MOA or 2 MOA dot might be preferred for increased precision on smaller targets at greater distances. However, it’s crucial to acknowledge that for truly long-range precision, magnified optics are generally the superior choice.
Shotguns: Red dot sights on shotguns are often used for hunting birds or small game, as well as for tactical applications. In these scenarios, rapid target acquisition on moving targets is paramount. Therefore, larger MOA sizes, typically 3 MOA or larger, are generally favored. The larger dot is easier to see against a moving background and allows for quicker centering on the target. For clay target sports, similar principles apply, prioritizing the ability to quickly track and engage the moving clay.
Hybrid Applications: It’s worth noting that some firearms may serve multiple roles. In such cases, the choice of MOA size might involve a compromise. For instance, a rifle used for both close-quarters drills and longer-range target shooting might benefit from a 2 MOA dot, offering a middle ground between rapid acquisition and decent precision.
Conclusion: Choosing the Right Dot for Your Needs
Understanding red dot MOA and how MOA size impacts target acquisition at various distances is fundamental to maximizing the effectiveness of your optic. By grasping the relationship between MOA and inches on the target, and by considering the specific application of your firearm, you can make an informed decision when selecting a red dot sight. Whether prioritizing speed for close-quarters engagements with a larger dot or seeking enhanced precision at longer ranges with a smaller one, the key is to align the MOA size with your individual shooting needs and the intended use of your firearm. Ultimately, a well-informed choice will lead to faster target acquisition, improved accuracy, and a more rewarding shooting experience.